Quality Badge Requests
Have you ever seen those really cool badges on your courses that look shiny and say “quality” somewhere on them? Ever wonder how instructors get those - do they have to sign up or something? Who knows! All we have to worry about is how create them and place them into their respective courses.
Enrolling yourself in the course
On the requesting ticket, the name of the course is provided under “On which course should this work be performed?”. Copy the full course name provided.
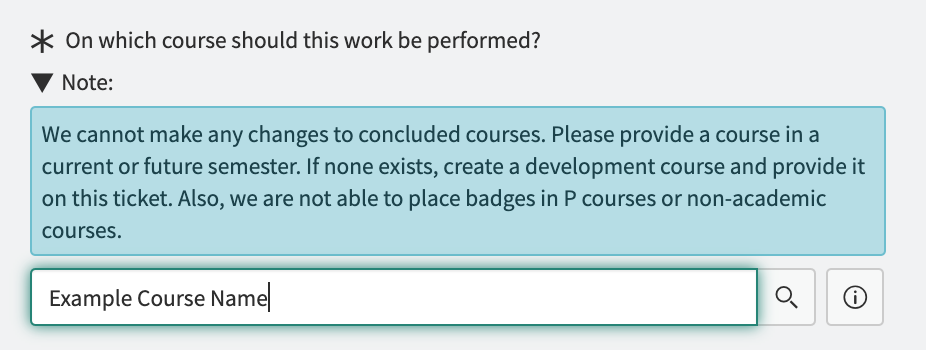
Our internal tool, Soul Patch, has an Enrollments Manager that allows us to self-enroll into courses. If you have never used Enrollments Manager before, or forgotten how, follow these instructions.
Once you’re in the course, you can create and add the badge.
Understanding the Badge Creation Tool
When creating Quality Badges, we use the Badge Creation Tool which is provided on every ticket that is requesting a Quality Badge Placement.

Open the quality badge creator in a new tab, which should look like a page that doesn’t use CSS.
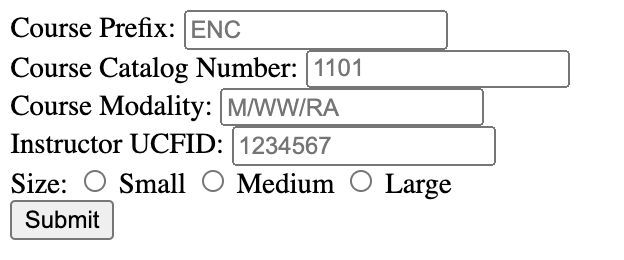
As the fields on this page states, you need to input the Course Information (Prefix, Catalog Number, Modality), Instructors ID, and size requested.
Locate: Course Information
Now that you’re in the course, you can parse the courses’ prefix, catalog number, and modality. The prefix and catalog number are generally included in the courses’ name; the prefix is the first 3 letters and the catalog number is the last 4 numbers. If you’re working with a course that isn’t named with the standard pattern - there is a likelihood that once you are assigned to the course you will see the standard course name somewhere on the Home page.
Modality can be one of three options: M, WW, or RA. The courses’ modality can be a little more difficult to find if you aren’t provided with a standard course name. In those cases, the modality may be described in the Syllabus of the course you are now enrolled in. More context on understanding and finding the modality of a course can be found on the Course Modalities page of the training.
Let’s use a couple examples to clear everything up:
Provided course: APK6713-21Fall 0M01
Prefix: APK, catalog number: 6713, modality: M
Provided course: QR Fa21 Development - Hagglund_H_01
Prefix: HFT, catalog number: 3263, modality: WW (ALL information found after enrolling into the course and finding the syllabus!)
Paste the courses’ prefix, catalog number, and modality in their respective fields on the Badge Creation Tool.
Locate: Instructors’ UCF ID
The UCFID of the Instructor is very easy to find! On the requesting ticket, navigate to the “Who is the client for this work request?” and select the information icon beside the name given.

Copy the UCFID provided and paste that in its respective field on the Badge Creation Tool.
Locate: Badge Size & Placement
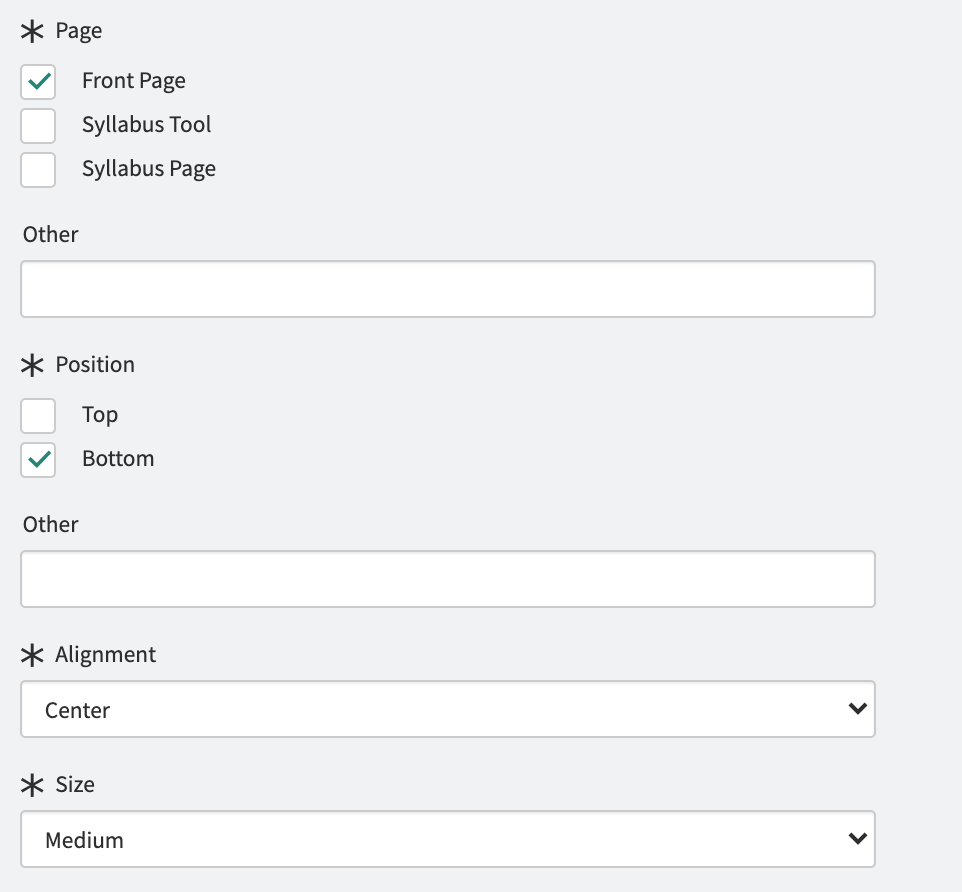
Lastly, you need to know where to place the badge on this course and how big the instructor wants it. This information is all detailed in the requesting ticket under the Quality Badge Placement header.
Size is most important to us right now. Select whichever size was provided in the requesting ticket in our badge creation tool and hit Submit. If it worked successfully, you should have an embed code that you can now copy! If not, either one (or more) of the fields on the badge creation tool were inputted incorrectly or the instructors’ badge has not been generated by the system yet. More on that in worst case situations.
Place the Badge into the Course
If all went well, head back to the course! Keep in mind the page, position, and alignment all indicated by the instructor in the requesting ticket.
Page
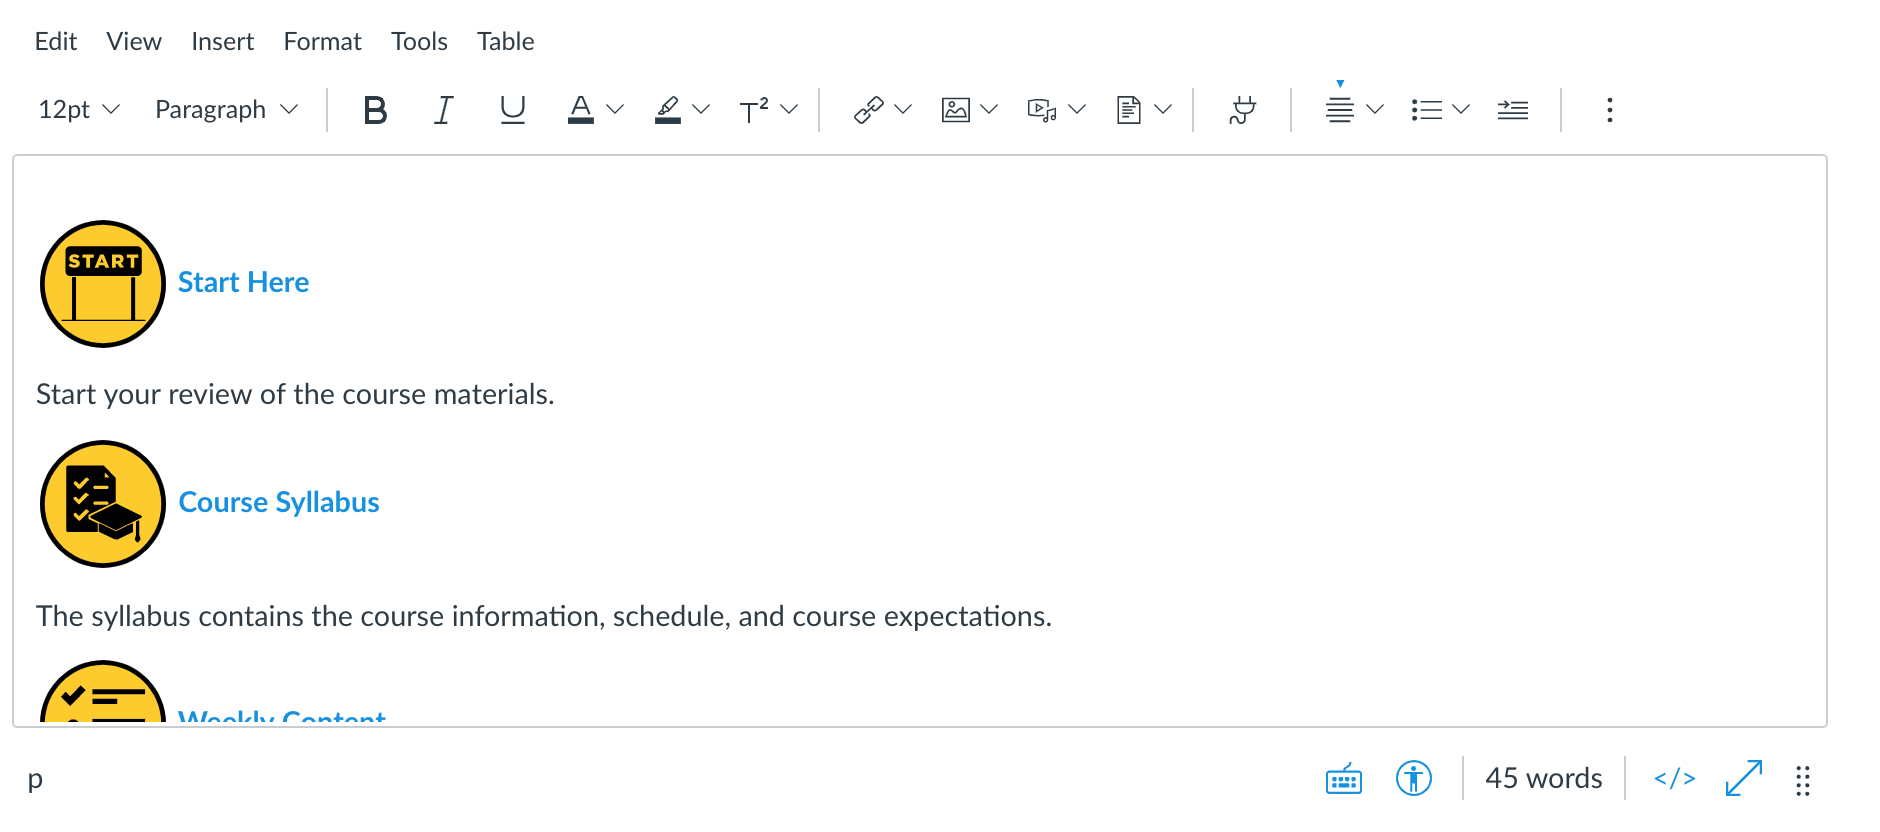
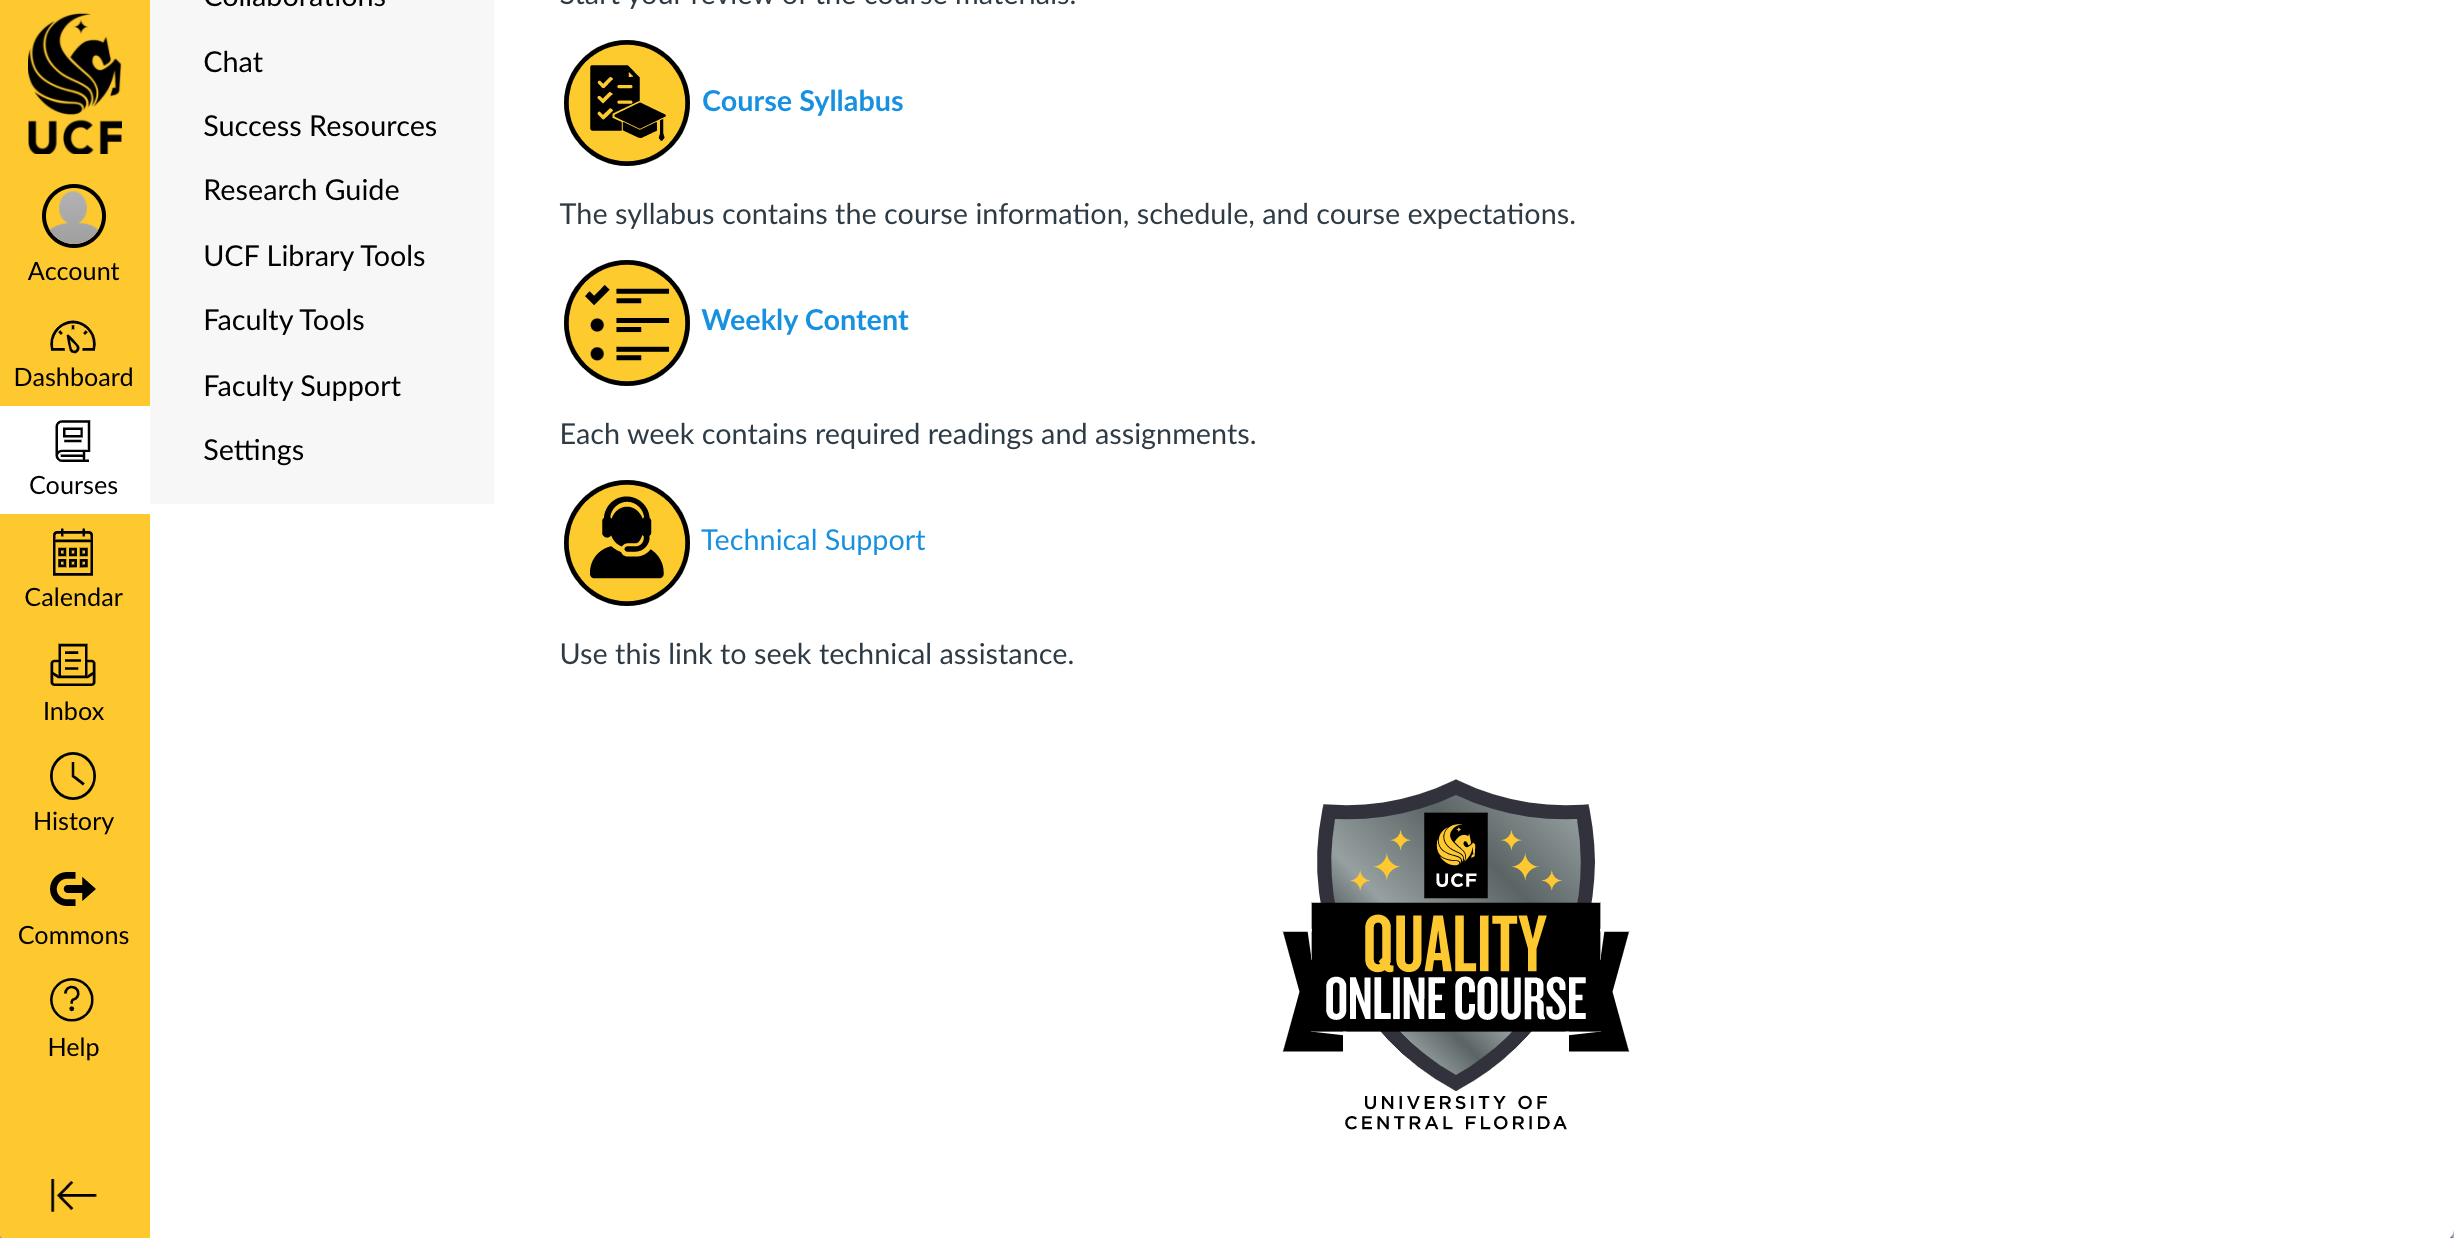
If the page selected was “Front Page”, head to the home page of the course. If the page selected was “Syllabus Tool / Page”, you will likely be placing a badge on the instructors’ syllabus. Navigate to whatever page was suggested and select the “Edit” button beside the name of the page. You should now see an edit view similar to one below.
Position
Click the button that looks like HTML tags, </> at the bottom right of the edit box. You can now place the Quality Badge embed code wherever the instructor selected. If the position indicated was “top”, place the code for the badge at the beginning of HTML editor. If the position indicated was “bottom”, same thing, but bottom.
Alignment
The instructor can choose to have an alignment of left, center, or right. When you paste a Quality Badge, it automatically adopts a left alignment. The most common alignment is “center”. To change the alignment of your Quality Badge, wrap the iframe code with a <p style="text-align: center;">. Don’t forget the closing </p> tag at the end of the iframe! This same code can be used for aligning right.
Once you’re done, click save, and admire your work!
Submitting the Request
If everything looks good to you, first head back to Soul Patch to unenroll yourself from the course. Then, head back to the requesting ticket. Scroll to the bottom where you can input “Additional comments” and let the instructor know your work is now complete. I like to leave comments like Completed quality badge placed on [position] of [page] in course [course name]. Click post and scroll to the top of the ticket to select “Close complete!”
Worst Case Situations
Sometimes things don’t go as they should. That’s okay, most of the time it has nothing to do with you.
I didn’t get an embed code after correctly populating the Badge Creation Tool!
When this happens and everything you submitted in the Badge Creation Tool is correct, then the instructors’ courses’ badge simply hasn’t been generated on the backend yet. It’s best practice to leave a comment in “Additional Comments” saying something along the lines of “The quality badge for this course has not been generated; should be ready later today or tomorrow”. Since every badge we create is unique to the instructor and course it’s being requested for, it takes time to be created. Like a good dumpling.
I still can’t get an embed code after waiting a day or two!
Contact Matt Emond or Brandon Stull.
I can’t find the standard course name!
If you’ve been able to enroll yourself into the course and still can’t find the information you need for the course name (course prefix, catalog number, and modality), then leave a comment in “Additional Comments” letting them know that you need a course name to complete the request.
I can’t enroll myself into a course!
You shouldn’t be in there, that’s why! If Soul Patch results in an error when trying to enroll you into a course, there’s a chance the course is simply concluded (ended a semester or more prior to current date). As Techrangers, we don’t have the power to go into concluded courses and alter them. Leave a comment in “Additional Comments” letting the instructor know that we cannot modify concluded courses.